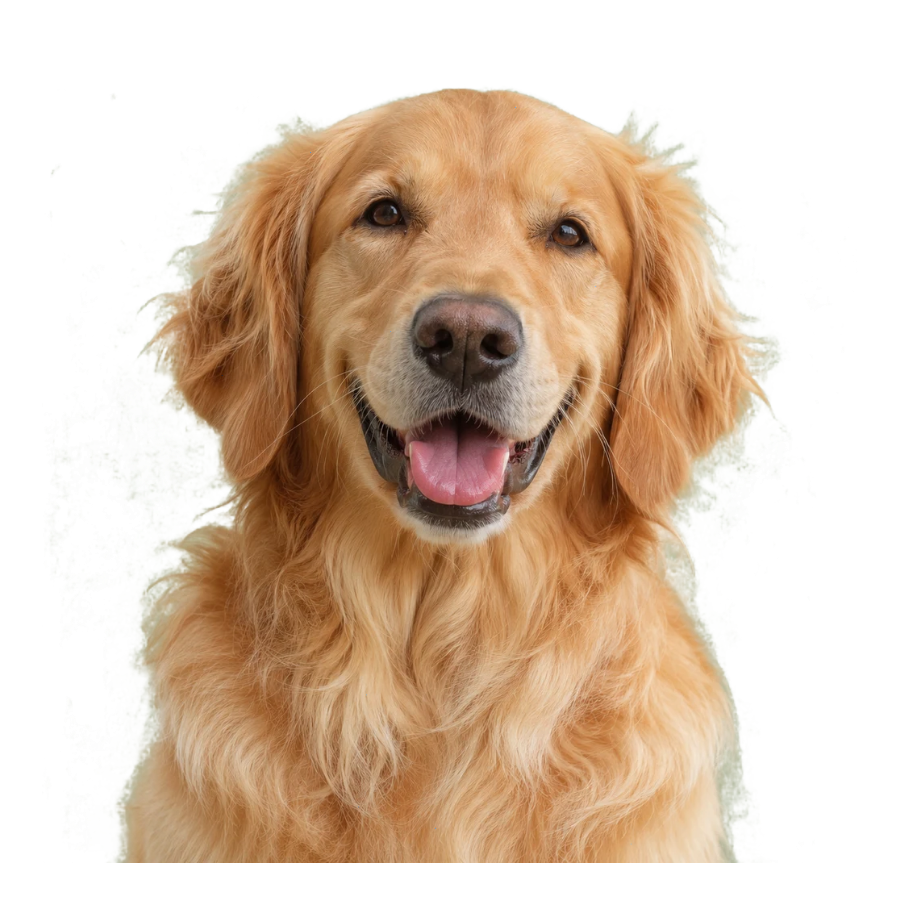
Make something personal, without opening a complicated editor
A great sticker starts with a picture that means something to you: a dog looking suspiciously innocent, a friend making the perfect face, or a flower from a weekend walk. StickerFile brings the useful preparation steps together in one place. Choose a photo, separate the subject from its background, add a visible outline if you want one, then export a transparent PNG for your next project.
The single-sticker workspace is for getting one image right. The outline workspace focuses on the border around an existing subject. The sheet workspace repeats your prepared design across a larger canvas so you can plan a print order. These are artwork tools rather than a printing or delivery service. You keep the exported file and choose the print provider, material, and application method that fit your object.
Start with the result you actually want
A pet portrait often works well with a rounded white border that makes ears and fur readable on a busy background. A human portrait may need more breathing room around hair and shoulders. A flower can work as an isolated silhouette with no visible border at all. Inspect the edge before deciding: an outline can support a clean shape, but it cannot fix a poorly separated background or make a tiny source photograph sharp.
For an ordinary self-adhesive vinyl sticker, a physical carrier remains underneath the printed artwork. For a UV DTF transfer, the application film is removed and the graphic with its adhesive stays on the object. That difference affects how empty areas look, how tiny separate pieces behave, and what your print provider needs. A screen preview helps you prepare the composition; a small physical sample settles questions about the finished material.
Keep the workflow small and deliberate
Pick the final width before choosing a large export. At 300 DPI, each inch requires 300 pixels, so resolution and physical dimensions belong together. Add only the border your design needs. When arranging a sheet, leave enough space for handling and any cutting or separating process requested by your provider. Download the result and inspect it outside the editor before sending it onward. Your photos are processed locally, so there is no account to create and no cloud gallery to manage.
Good questions, clear answers.
Are my photos uploaded?
No. Photo editing runs in your browser, and StickerFile does not provide a photo upload endpoint. Selecting a file gives this page access to that file while you work. Keep your own copy of the original and download the finished PNG before closing the page, because an unfinished browser session is not a cloud backup.
Does a transparent PNG mean there is no adhesive?
No. Transparency describes the artwork background, not the adhesive system used in manufacturing. A UV DTF transfer retains adhesive with the printed graphic when the application film is peeled away. Ask your print provider about film compatibility and test adhesion on the actual object, particularly if it has a coating or a textured finish.
Is the white outline the same as a white underbase?
No. The outline is visible artwork around the subject, while a white underbase is a production layer printed beneath color. StickerFile lets you choose a visible border; it does not create a dedicated spot-white print channel. Your printer should prepare white ink and varnish settings using the correct RIP workflow for their equipment.
Can I use this file for any surface?
No. The file can be prepared here, but adhesion and durability depend on the object, ink, film, application, and care. Hard, smooth surfaces are sensible candidates for a sample. Fabric, silicone, textured coatings, and flexible materials need their own assessment. Do not assume food-contact, dishwasher, outdoor, or skin suitability without the supplier’s explicit specification.
How large should my original photo be?
Use enough original pixels for the intended physical size. At 300 DPI, a three-inch-wide graphic needs about 900 pixels across before allowing for a border. Enlarging a small source may produce a larger file but cannot recreate fine detail. Inspect faces, lettering, and edges at the final size rather than relying only on the preview thumbnail.
What should I send to a print provider?
Send the exported transparent PNG together with the intended physical dimensions and the provider’s requested production notes. Confirm usable sheet width, spacing, color handling, white ink, and varnish before ordering. A PNG is artwork rather than a guarantee of machine readiness; ask for a proof or sample if any specification is uncertain or the order is important.