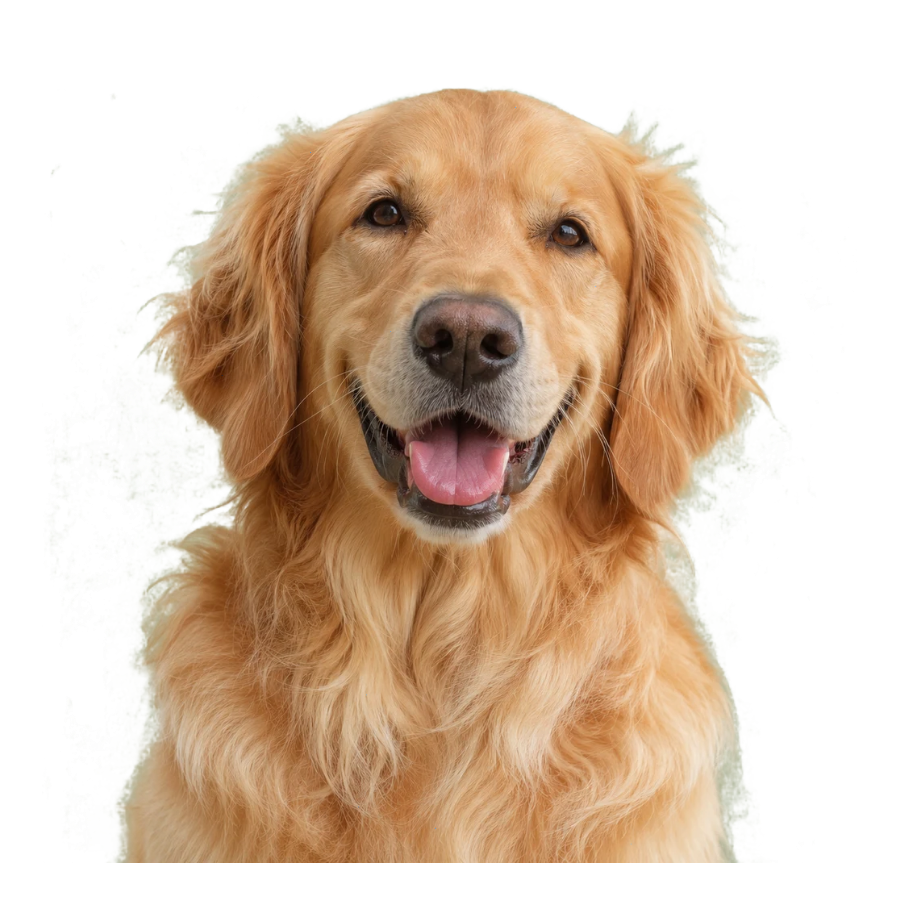
YOUR LITTLE STICKER STUDIO

Sticker outline maker for your favorite photos.

Turn favorite moments into transparent PNG artwork. Add an outline, arrange a sheet, and download at the size you need. Free to use, with photo processing in your browser.

Make a sticker ↗

No account · No photo upload · PNG download

YOUR LITTLE CREATIVE CORNER

Good photos. Great stickers.

A little personality. A lot of possibilities.

✦ 100% free · No signup
Editable exampleLoading editable example…
LIVE PREVIEW3 × 3 in
Transparent background. Endless possibilities.✧
✦ Made by you. Ready for anything.300 DPI · PNG
01

Start with a photo

Pets, people, plants. Make it personal.

Remove the backgroundAI ✦

♧ Your photos never leave your device — everything runs in your browser.

An outline that belongs to your picture

A sticker outline gives a subject a little breathing room. It can separate dark fur from a dark notebook cover, preserve the shape of a portrait on a busy surface, or turn an uneven silhouette into a more deliberate composition. The useful question is not how thick a sticker border usually is. It is how much visible space this particular image needs at its final physical size.

Choose a prepared image or remove its background first. Inspect the transparent edge before adding a border, especially around hair, whiskers, leaves, and gaps between fingers. A border follows the silhouette it receives. If an unwanted background fragment remains, the outline can make that fragment more obvious. Correct the subject selection before judging the border thickness.

Work in millimeters, then check the finished size

StickerFile supports a visible outline from zero to five millimeters. Zero preserves the isolated subject without adding a border. A narrow outline gives a subtle separation; a wider one creates a more playful sticker appearance. There is no universal best setting. A tiny finished sticker can be overwhelmed by a border that looks modest on a large screen preview.

When you change the physical width, reconsider the border as part of the complete design. Check how much space remains for a face, small lettering, or thin stems. Review both the overall silhouette and the detailed edges. A successful outline reads as one clear shape at normal viewing distance while keeping the features that make the picture recognizable.

Understand what the exported border does

The visible border is artwork in your PNG. It is not an automatic contour-cut instruction, and it is not a dedicated white-ink underbase. A vinyl printer may require a separate vector cutting path. A UV DTF provider may create white and varnish layers using their own RIP settings. Tell the provider which process you intend to use and ask what additional production files they need.

After exporting, open the PNG on both a light and a dark background if your viewer supports it. Look for unexpected opaque corners, detached islands, clipped edges, and a border that is too close to the canvas boundary. Save a version without the outline as well if you want to compare treatments later. Make the final choice from the real output dimensions, not only the enlarged editor view.

Practical artwork specifications

SettingWorking recommendation
ResolutionPrepare at 300 DPI at final size; enlargement does not restore missing detail.
Visible outline0–5 mm; a visible border is distinct from a printer white underbase.
White underbaseControlled by the printer and RIP; a transparent PNG does not create a spot-white channel.
Sheet widths22, 24, or 30 inches; confirm the printer’s actual usable width first.
Candidate surfacesHard, smooth, clean glass, metal, or compatible plastic; test adhesion first.
DeliveryTransparent PNG; the print provider’s color, spacing, and channel instructions take priority.

From photo to print file

  1. Choose a clear photo

    Use your own photograph or artwork you have permission to adapt. A sharp subject with room around the edges is easier to prepare.

  2. Prepare the silhouette

    Remove the background, inspect small gaps, and decide which isolated details should remain. Check the transparent preview before adding a border.

  3. Set the finished size

    Choose the physical width, adjust the visible outline between 0 and 5 mm, and check the resulting pixel dimensions against your print plan.

  4. Download and test

    Export the transparent PNG, open it again to inspect the result, and request a small sample from your printer before ordering a batch.

Good questions, clear answers.

Are my photos uploaded?

No. Photo editing runs in your browser, and StickerFile does not provide a photo upload endpoint. Selecting a file gives this page access to that file while you work. Keep your own copy of the original and download the finished PNG before closing the page, because an unfinished browser session is not a cloud backup.

Does a transparent PNG mean there is no adhesive?

No. Transparency describes the artwork background, not the adhesive system used in manufacturing. A UV DTF transfer retains adhesive with the printed graphic when the application film is peeled away. Ask your print provider about film compatibility and test adhesion on the actual object, particularly if it has a coating or a textured finish.

Is the white outline the same as a white underbase?

No. The outline is visible artwork around the subject, while a white underbase is a production layer printed beneath color. StickerFile lets you choose a visible border; it does not create a dedicated spot-white print channel. Your printer should prepare white ink and varnish settings using the correct RIP workflow for their equipment.

Can I use this file for any surface?

No. The file can be prepared here, but adhesion and durability depend on the object, ink, film, application, and care. Hard, smooth surfaces are sensible candidates for a sample. Fabric, silicone, textured coatings, and flexible materials need their own assessment. Do not assume food-contact, dishwasher, outdoor, or skin suitability without the supplier’s explicit specification.

How large should my original photo be?

Use enough original pixels for the intended physical size. At 300 DPI, a three-inch-wide graphic needs about 900 pixels across before allowing for a border. Enlarging a small source may produce a larger file but cannot recreate fine detail. Inspect faces, lettering, and edges at the final size rather than relying only on the preview thumbnail.

What should I send to a print provider?

Send the exported transparent PNG together with the intended physical dimensions and the provider’s requested production notes. Confirm usable sheet width, spacing, color handling, white ink, and varnish before ordering. A PNG is artwork rather than a guarantee of machine readiness; ask for a proof or sample if any specification is uncertain or the order is important.

Keep creating.

Read how your photos and browsing data are handled.